PAINTING PROCESS - Short tutorial 7 : How to use vegetal masked assets to built in no time your green foreground

Tutorial / 28 July 2022

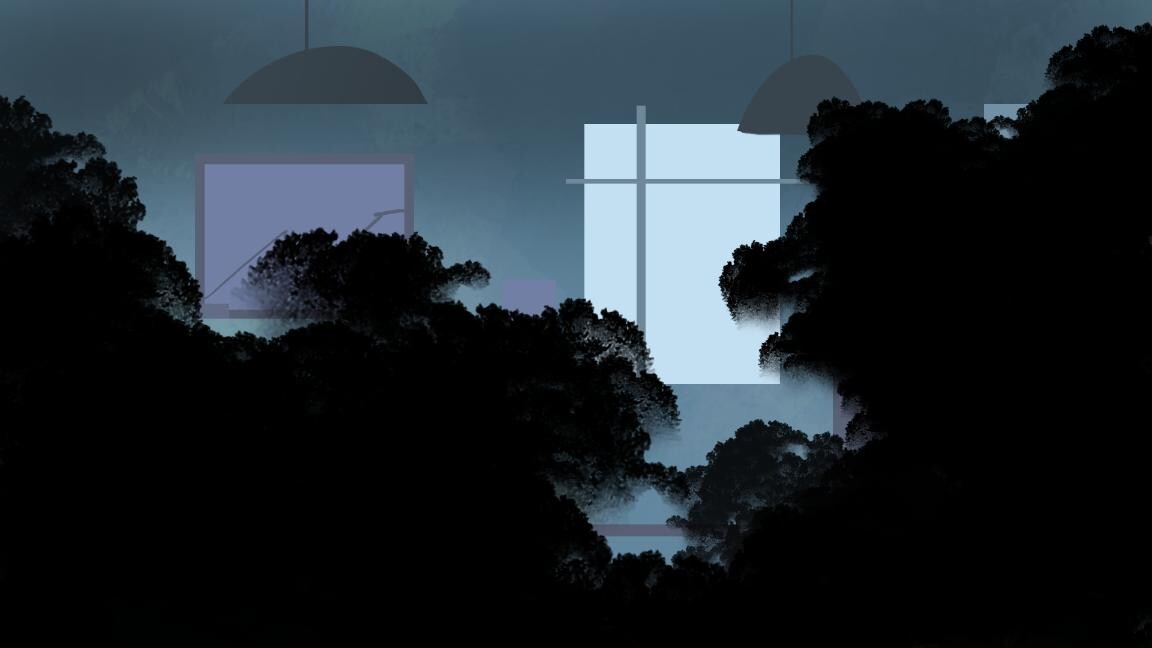
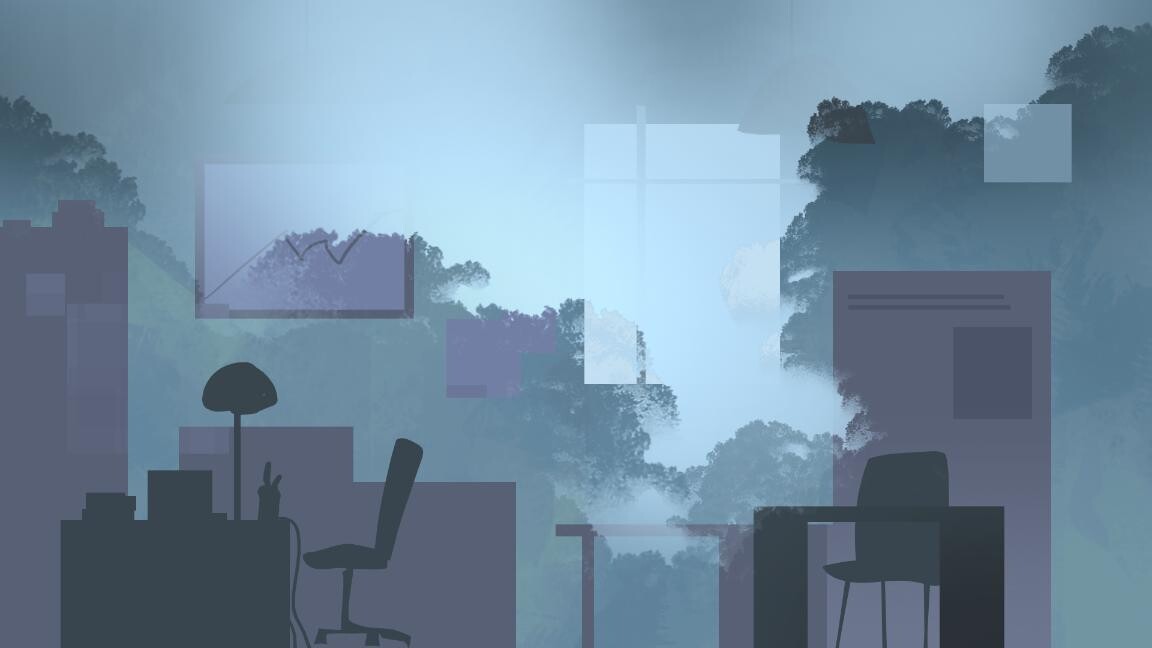
If you want to know how to quickly create a vegetal scenery using some masked assets, watch this short tutorial ! 

You'll see how to put together the PNGs and recreate the depth of field in the composition. 

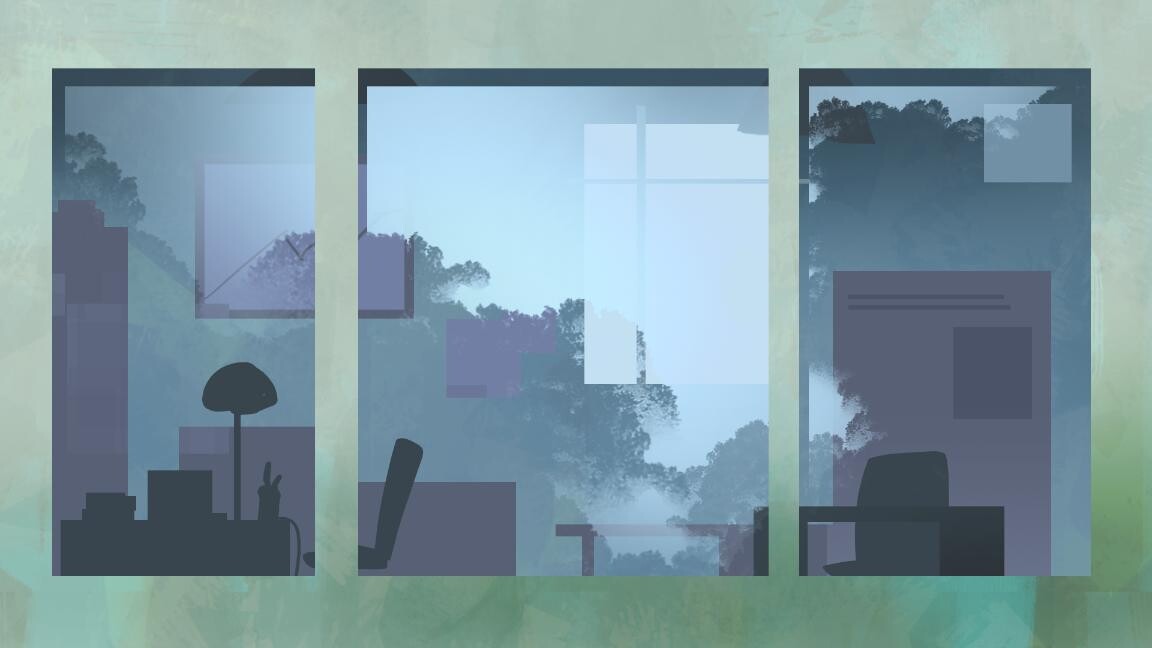
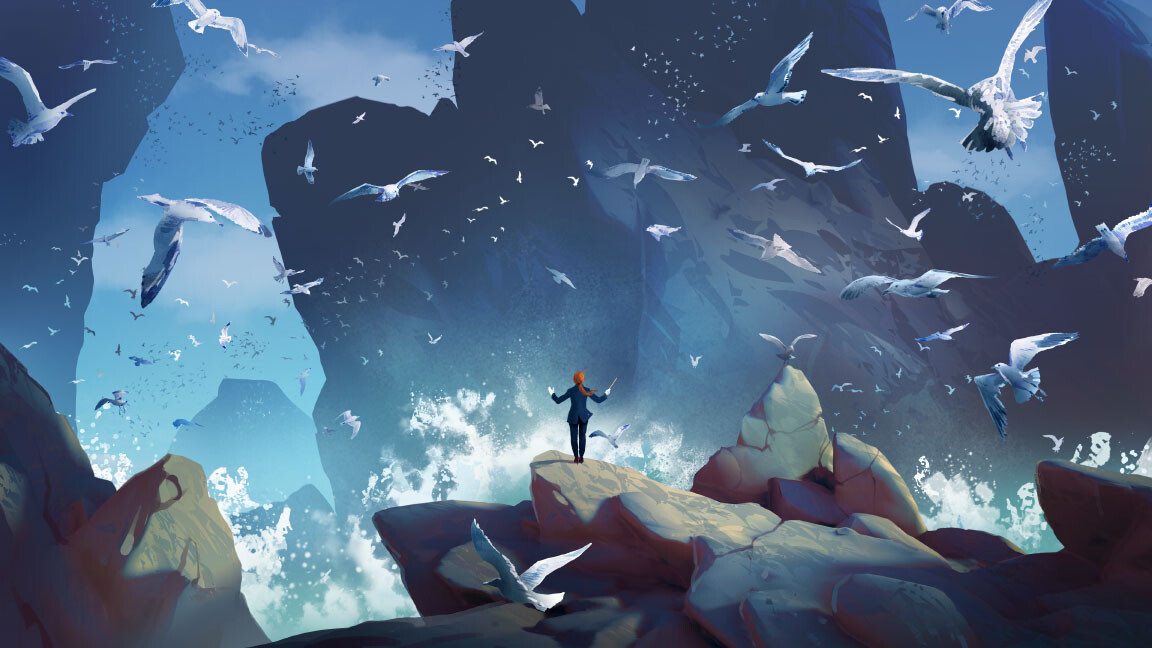
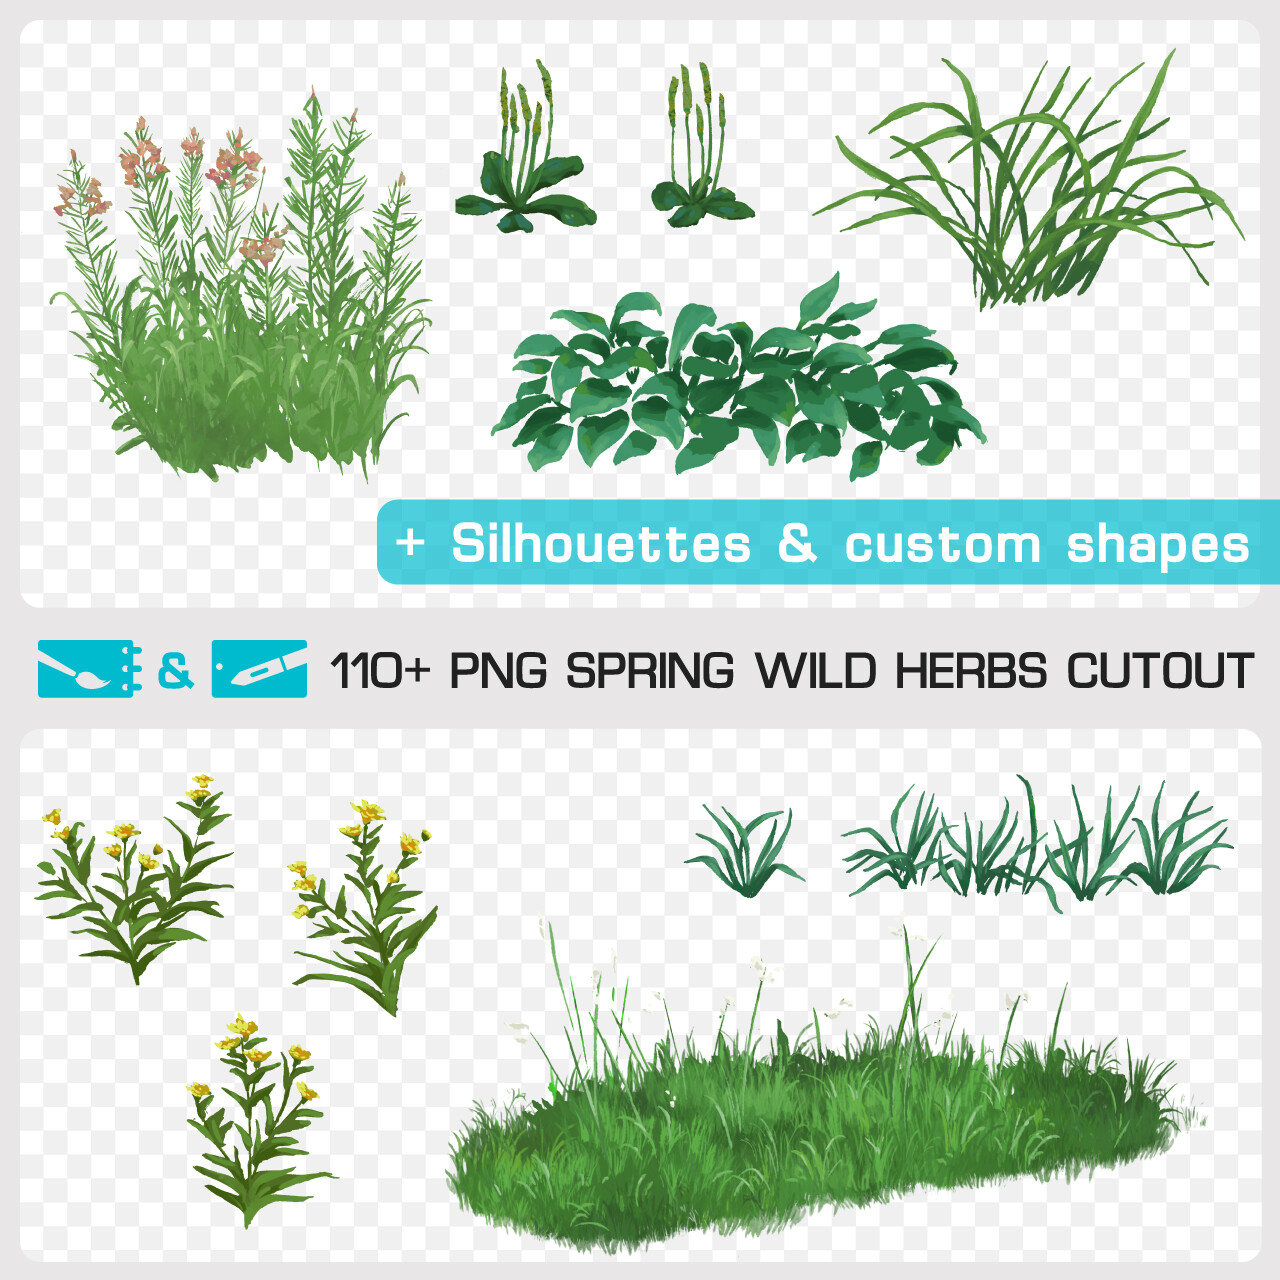
This image was done by Johanna Capelle (my partner on the Pixelref resource library) on Photoshop using painted cutouts of the painting pack "Spring Wild Herbs Cutout" that you can find on my Artstation store. The pack contains +110 wild grasses and flowers colored cutouts, custom shapes, PNGs silhouettes and the layered PSD of this artwork!


> Spring Wild Herbs Cutout pack <


Have a good summer day folks !


PAINTING PROCESS - Short tutorial 6 : How I painted "Green Heart" mixing tradi & digital painted assets

Tutorial / 22 April 2022

If you want to know the big steps and the tweaks I use to do the "Green Heart" artwork using traditional & digital painted assets, you can watch this short tutorial !  You'll see how to put together the PNGs in an harmonious composition. 

This image was done in 4 hours with Photoshop using masked rocks of the Pixelref traditional paintings pack "BARE ROCKS MOSS CUTOUT". The pack contains 170+ high resolution masked rocks and the layered PSD of this artwork! 


Art poster version of "GREEN HEART"  available on my shop


"BARE ROCKS MOSS" cutout pack available on my shop 


PAINTING PROCESS - Short Tutorial 5 : How to photobash a landscape scenery with a few drag and drops of masked rocks photos

Tutorial / 22 February 2022

If you want to know how to quickly create a photobash landscape scenery using some cut out photos, watch this short tutorial ! 

You'll see how to put together the PNGs and recreate the depth of field in the composition. 

This image was done by Johanna Capelle on Photoshop using masked rocks of the Pixelref photo pack "Brittany Rock Mass Cutout" that you can find on my Artstation store. The pack contains +180 PNGs, +60 JPGs and the layered PSD of this artwork!


> Brittany Rock Mass Cutout pack <


TIPS & TRICKS - Speed painting 2 : How to paint reflection on windows in less than 10 minutes

Tutorial / 07 February 2022

10 minutes speed painting to show to my apprentices a process to express reflections on windows in 4 key steps. 

Step 1 - Create the scenography behind window (inside the building)


Step 2 - Paint the shapes of the exteriors subjects (trees or building) in black on a distinct layer and change it in soft light blend mode

Step 3 - Use inverted selection of the previous layer to paint the reflects with a light color and reduce its opacity


Step 4 - Paint the building's facade and details of the dropped shadows


To create the vegetal reflection you can use the brushes I propose in the mega pack DECIDUOUS TREE CUTOUT & PLANT BRUSH on my store! I offer you 50% OFF using coupon TIPSTRICKS02 until the end of the week :D 


In case you missed that here are the previous Tips & Tricks tutorial posts  :

How to paint a snowy peak in less than 10 minutes


Enjoy ! 

TIPS & TRICKS - Speed painting 1 : How to paint a snowy peak in less than 10 minutes

Tutorial / 21 September 2021

I start today a new series of Tutorial blog post : "Tips & Tricks : speed painting" !

It's completing the "Painting Process : short tutorial" blog posts I started a few month ago with Johanna Capelle. We show you in short videos how to build balanced and colorful images using 3D blockouts, photo reference and painted assets packs that we propose on my artstation store

So let's start with this first speed painting : how I paint snowy peak in less than 10 minutes in 4 key steps. 


Step 1 - Define the shape language 


Step 2 - Define the volume of the mountain with custom shapes and textured brush


Step 3 - Paint snow with similar technique


Step 4 - Add shadows and small details to avoid too noisy rendering


To get inspiration and reference for that kind of subject you could be interested in one of the photo reference packs I propose on my store like this one, a compilation of 80+ peaks and ridges cut out :  


In case you missed that here are the previous tutorial posts of the Painting Process series : 

How to give volumes and Ghibli style textures to your architectural artworks

How to give depth of field and dynamism to your crowd composition

How I built "The seagulls orchestra" quick scenery using traditional painted masked birds

How I built "Guardian of the garden" quick scenery using masked sculptures photos


Enjoy ! 

PAINTING PROCESS - Short Tutorial 4 : How I built "Guardian of the garden" quick scenery using masked sculptures photos

Tutorial / 17 May 2021

If you want to know the big steps and the tweaks I use to do the "Guardian of the garden" artwork using some cut out photos, you can see in this short tutorial ! You'll see that you can mix very easily photos and digital painted assets to create an uniform composition saving a lot of time !

This image was done in 6 hours with Photoshop using masked scluptures of the Pixelref photo pack "Roman Scluptures Cutout" that you can find on my Artstation store. The pack contains +160 masked sculptures and the layered PSD of this artwork!


PAINTING PROCESS - Short Tutorial 3 : How I built "The seagulls orchestra" quick scenery using traditional painted masked birds

Tutorial / 22 April 2021

If you are curious to know how I built the "The seagulls orchestra" artwork, you can see in this short tutorial the big steps of my workflow to create a strong staging playing with swarms of birds, an intelligible depth of field and color balance with restricted color scale. 

This image was done in 6 hours using Oculus Medium, Photoshop and the masked birds and brushes of the traditional painting pack “Flying Pigeon & Gull Cutout" that you can find on my Artstation store.

The pack contains 110 hand-painted masked birds, 4 Photoshop brushes and the layered PSD of this artwork! 


You can see in the pictures below the original paintings made by Johanna Capelle using Waterman black ink. One of its specificities is that when you blend it with water you can obtain subtle gold and navy blue nuances. 

So the paintings are done by hand and then scan in 600ppp to obtain a very high resolution, perfect to be integrated in any digital composition and give an interesting traditional touch to a swarm of birds! 
You can find all details and full content of the Flying Pigeon & Gull Cutout pack on my store.
If you are interested in that sort of assets I invite you to follow the PIXELREF feed on Instagram & Twitter. It's an online art resource we created  Johanna and I for royalty-free traditional and digital paintings assets, textures and brushes, reference photos and masked images. : https://www.instagram.com/pixelref/ & https://twitter.com/pixelref


PAINTING PROCESS - Short Tutorial 2 : How to give depth of field and dynamism to your crowd composition

Tutorial / 19 February 2021

With the layers breakdown of this artwork, you could learn the broad lines of construction I use to build that kind of crowd image. 

You’ll see that to give a good depth of field I organise the image by different grounds. To create them I play on the size of the subjects off course. Also I set the light correction of each ground and it’s interesting to insert particles or pure haze between them to emphasize the depth and to give energy and moves to the ongoing action.   

This image was done in 30 minutes using the masked photo pack “Medieval Combat Cutout” that you can find on my Artstation store. 

The pack contains 120+ HD masked foot medieval fighters photos to create your own epic battle very quickly ! 


If you are interested by that kind of assets I invite you to follow the PIXELREF feed on Instagram. It's a Photo, Painting, Texture and Brush packs ressource for artists made by my partner Johanna Capelle and me.


PAINTING PROCESS - Short Tutorial 1 : How to give volumes and Ghibli style textures to your architectural artworks

Tutorial / 26 November 2020

If you are curious to know how I built my artworks, you can see in this short tutorial the big steps of my workflow to give organic matter and volumes to the image “The wrong town”. You’ll see that I use basic 3D blockouts and then traditional painted textures that help to quickly give depth of field and Ghibli style to my sceneries.   

This image was done in 6 hours using Oculus Medium, Photoshop and the traditional painting pack “Grunge Wall Textures” that you can find on my Artstation store : https://tohad.artstation.com/store/2lkb/grunge-wall-textures-traditional-painting-pack-12-jpg-1-bonus-psd

The pack contains 12 HD hand-painted textures and the layered and commented PSD of this artwork! 


If you are interested by that sort of assets I invite you to follow the PIXELREF feed on Instagram. It's a Photo and Painting packs ressource for artists made by my partner Johanna Capelle and me : https://www.instagram.com/pixelref/